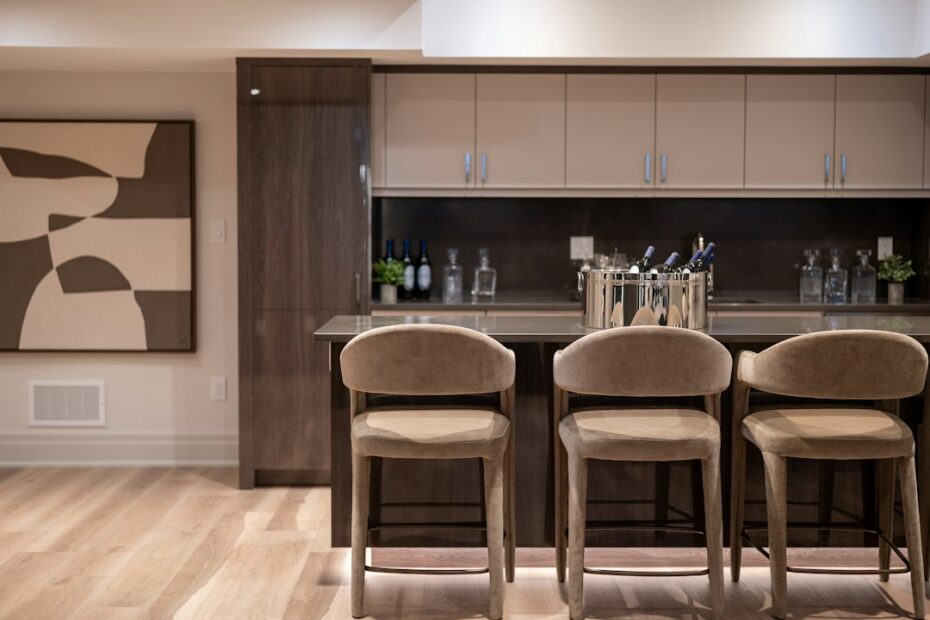
If you’ve ever hosted a holiday party and spent the whole night running up and down the stairs for ice, drinks, and clean glasses, you already know the case for a basement bar. A well-planned bar turns a finished basement into a real entertaining space and keeps guests (and the mess) downstairs.
The cost range is wide, though. A simple dry bar can come in around $2,000, while a full wet bar with plumbing, custom cabinets, and appliances can run past $15,000. This guide breaks down what each option costs, where basement plumbing adds surprises, and how to plan if you want it finished before Thanksgiving and the December holidays.
Key Takeaways
- Dry bars are the budget option. No sink or plumbing, so typically about $2,000 to $6,000.
- Wet bars typically run about $5,000 to $15,000, depending mostly on how far the sink is from existing drain lines.
- Below-grade drains are the wild card. If the sink sits lower than your main sewer line, you’ll need a drain pump or ejector system.
- Plan the electrical early. Refrigerators, ice makers, and lighting usually need new circuits.
- Timing matters. Starting in mid-October is realistic for a dry bar by the holidays; a plumbed wet bar is tighter.
Dry Bar vs. Wet Bar vs. Kitchenette
The biggest cost decision is whether your bar has running water, and how much kitchen you want around it.
| Type | What It Includes | Typical Cost | Permit Likely? |
|---|---|---|---|
| Dry bar | Cabinets, countertop, storage, optional beverage fridge | $2,000–$6,000 | Only if adding circuits |
| Wet bar | Everything above plus a bar sink with supply and drain lines | $5,000–$15,000 | Yes (plumbing and electrical) |
| Kitchenette | Wet bar plus full-size fridge, microwave or cooktop, more counter space | $10,000–$30,000+ | Yes; may raise zoning questions |
Ranges are typical installed costs and vary widely by region, finish level, and how much of the basement is already finished.
A note on kitchenettes: in some jurisdictions, adding a cooking appliance can make a basement look like a separate dwelling unit, which may trigger different code and zoning rules. If a basement apartment is the long-term goal, read our guide to converting a basement into an apartment before you design the bar.
Basement Wet Bar Cost Breakdown
Here’s where the money typically goes on a mid-range wet bar. Your numbers will depend on finish choices and local labor rates.
| Component | Typical Range | Notes |
|---|---|---|
| Base and wall cabinets | $1,000–$6,000 | Stock cabinets keep costs down; custom built-ins cost the most |
| Countertop | $500–$3,500 | Laminate and butcher block are budget-friendly; quartz and granite cost more |
| Bar sink and faucet | $200–$1,200 | Small bar sinks are cheaper than full-size kitchen sinks |
| Plumbing rough-in | $1,000–$3,500 | Depends on distance to existing supply and drain lines |
| Drain pump (if needed) | $500–$2,500+ | Required when the sink drain sits below the sewer line |
| Beverage fridge or undercounter refrigerator | $300–$2,500 | Built-in, front-venting units cost more than freestanding |
| Undercounter ice maker (optional) | $1,000–$3,000 | Usually needs both a water line and a drain |
| Electrical and lighting | $500–$2,500 | New circuits, GFCI protection, under-cabinet and pendant lights |
| Backsplash and finishes | $300–$1,500 | Tile, shelving, hardware |
Those components add up to the roughly $5,000 to $15,000 range for most basement wet bars. If you’re finishing the whole basement at the same time, run your numbers through our basement finishing cost calculator so the bar fits into the overall budget, or download our free basement budget spreadsheet to track every line item.
The Plumbing Problem Unique to Basements
Water flows downhill, and in many homes the main sewer line leaves the house above the basement floor or only slightly below it. That changes how you get water out of a basement sink.
- Gravity drain: If an existing drain line runs below the slab at the right depth, or the sink can tie into a stack at a height that allows proper slope, you can drain by gravity. This is the cheapest option, though cutting and patching the concrete slab adds cost.
- Drain pump (gray water pump): A compact pump under the sink collects water and pushes it up to the drain line. It’s a common and relatively affordable solution for a bar sink.
- Sewage ejector or up-flush system: If you’re also adding a basement bathroom, a larger ejector pit can sometimes serve both fixtures. Plan them together.
Tip: Place the bar near where plumbing already exists, such as next to a laundry area, water heater, or planned bathroom. Shortening the runs is the easiest way to cut the plumbing bill. If a bathroom is also in your plans, see our basement bathroom cost calculator to price both together.
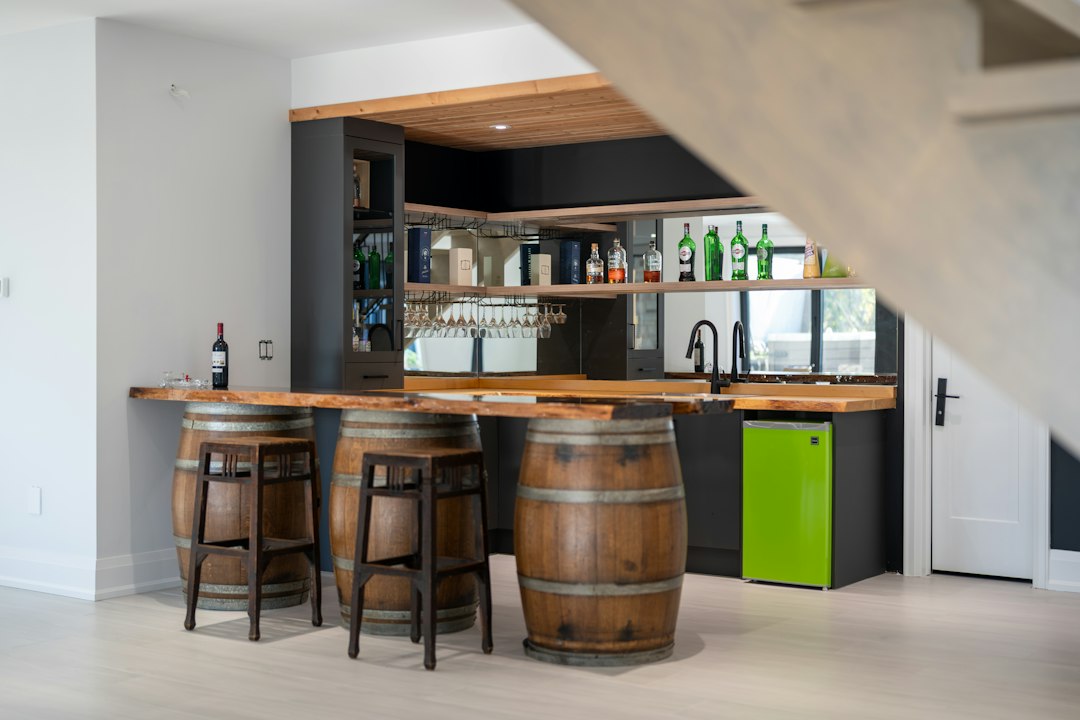
Electrical and Lighting Considerations
- Dedicated circuits: A refrigerator, ice maker, or microwave may each need its own circuit. Ask your electrician whether your panel has room.
- GFCI protection: Receptacles near a sink are generally required to be GFCI-protected under the electrical code. Your electrician and inspector will confirm what applies locally.
- Layered lighting: Basements are dark. Combine recessed lights, pendants over the bar top, and under-cabinet LED strips so the bar feels like a destination, not a corner.
- Outlets for extras: Plan for a blender, a coffee maker, a TV, or a sound bar now, before drywall goes up.
Design Tips for a Basement Bar That Works
- Choose moisture-tolerant materials. Basements run damp, so use water-resistant flooring around the bar and avoid particleboard cabinet boxes near the sink. Our guide to the best basement flooring options compares the most durable choices.
- Size the bar for seating. Allow roughly 24 inches of counter width per stool, and leave enough walkway behind the bar for one person to work comfortably.
- Pick front-venting appliances if your fridge or ice maker will be built in under the counter. Rear-venting units need open space around them to avoid overheating.
- Think about sightlines. Position the bar so the bartender can see the TV or the main seating area, keeping the host part of the party.
- Add storage for the off-season. Upper cabinets or open shelving keep glassware out of the way, and lockable storage is worth considering if kids use the basement.
Can You Finish a Basement Bar Before the Holidays?
If you’re reading this in mid-October, here’s a realistic look at the calendar:
- Week 1: Finalize the layout, choose bar type, and get quotes. Order cabinets now, since lead times on semi-custom cabinets can run several weeks.
- Weeks 2–3: Pull permits if needed, then complete plumbing and electrical rough-in and inspections.
- Weeks 3–5: Drywall and paint (if the area isn’t already finished), then flooring.
- Weeks 5–7: Install cabinets, template and install countertops, then set the sink, appliances, and lighting.
A dry bar using stock cabinets can often be finished in a few weekends and is very doable before Thanksgiving. A plumbed wet bar is more realistic for the December holidays, assuming contractors and cabinets are available. Countertop fabrication is often the longest wait, so ask about lead times up front.
Ways to Save on a Basement Bar
- Start dry, plumb later. Have the plumber stub in supply and drain lines during rough-in, then add the sink when your budget allows.
- Use stock or ready-to-assemble cabinets and upgrade the countertop instead. The counter is what guests notice.
- Skip the ice maker. It’s one of the most expensive items and needs both water and drain. A freezer drawer or countertop ice maker is a cheaper alternative.
- Do the finish work yourself. Painting, backsplash tile, shelving, and hardware are approachable DIY tasks. Leave plumbing, electrical, and slab work to licensed pros.
Need help paying for a bigger basement project? Our guide on how to finance a basement includes a payment calculator and loan options.
The Bottom Line
A basement bar is one of the most enjoyable upgrades you can add to a finished basement, and it doesn’t have to break the budget. A dry bar delivers most of the hosting value for a few thousand dollars. A wet bar costs more, mainly because of below-grade plumbing, but makes the space far more functional. Place it near existing plumbing, plan circuits early, and order cabinets and countertops first if you want it ready for this year’s holiday gatherings.
Join the Conversation
Did you go with a dry bar or a wet bar in your basement, and what would you change? Share your experience in the comments below.