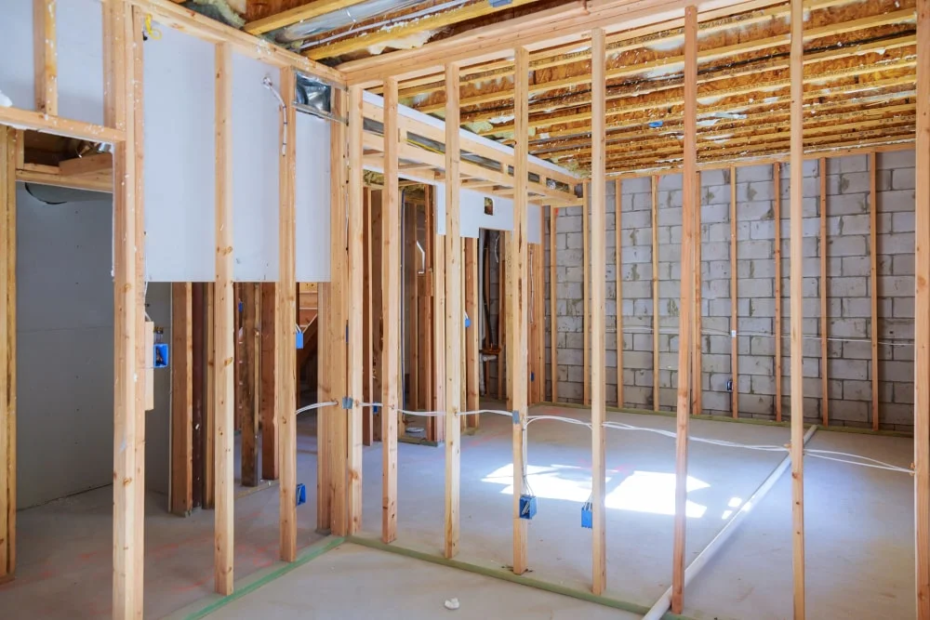
How to Finish a Basement Yourself
Finishing a basement is one of the few big home projects a handy homeowner can do mostly alone. There’s no roof to tear off, no exterior to weatherproof and no structural work in a typical job. You’re building rooms inside a concrete box that’s already paid for. That’s why a basement is the cheapest square footage you’ll ever add to a house, and why doing the labor yourself saves so much: labor usually makes up 60–65% of a professionally finished basement.
BasementCalculator.com started in 2014, when our founder was finishing his own basement and couldn’t find a decent way to estimate it. This guide is the walkthrough we wish we’d had then. It covers how to do each stage yourself, where DIYers usually go wrong, and the parts that are worth handing to a pro.
A 19-page planning guide plus a materials estimator, bathroom planner and be-your-own-GC kit, built to work together. Instant download.
Can you really finish a basement yourself?
Yes, with one big caveat: most successful DIY basements are not 100% DIY. The homeowners who finish on time and on budget do the labor-heavy, low-risk work themselves and hire licensed pros for electrical, plumbing and HVAC. In most towns, code requires it for at least some of that work anyway, and those are the trades where mistakes cause fires and floods.
Here’s how the work typically splits for a first-time DIYer:
| Do it yourself | Consider hiring | Hire a licensed pro |
|---|---|---|
| Demo and cleanup | Drywall taping and finishing | Electrical wiring |
| Rigid foam insulation | Tile showers | Plumbing and drains |
| Framing walls and soffits | Hanging drywall on ceilings | HVAC and gas lines |
| Painting | Stairs that need rebuilding | Egress window cutting |
| Drop ceiling, LVP flooring, trim | Waterproofing systems |
If you’re still deciding how much to take on, our DIY vs. pro cost breakdown compares the two approaches line by line.
Tools you’ll need
You don’t need a contractor’s trailer full of equipment, but a few tools make basement work dramatically faster. Buy what you’ll use for months; rent what you’ll use for a day or two.
Buy
- Miter saw and circular saw for framing, trim and flooring
- Cordless drill and impact driver, plus a drywall screw gun or drywall bit
- 4 ft level, framing square and chalk line
- Self-leveling laser level, which pays for itself on wall layout and drop ceilings
- Hammer drill for anchoring into concrete
- Drywall knives (6, 10 and 12 in.), mud pan and a pole sander
- Utility knife, tape measure and a stud finder
- Moisture meter and hygrometer to check the slab and the air before you build
- Safety gear: eye and ear protection, N95 masks for drywall dust, knee pads
Rent
- Powder-actuated nailer for fastening bottom plates to the slab (or use Tapcon screws and the hammer drill)
- Drywall lift, which turns ceiling drywall from a three-person job into a one-person job
- Concrete grinder if the slab has high spots under your flooring
- Dumpster or bagster for demo debris
Step 1: Make sure the basement is dry
Every DIY basement guide says this first because it’s the step people skip. A finished basement traps whatever moisture the concrete lets in behind your new walls, where it turns into mold, rotted framing and that unmistakable musty smell. Fixing it later means tearing out finished work.
Start with the plastic sheet test: tape a 2 x 2 ft square of plastic to the floor and another to a wall, seal all four edges, and check them in a week or two. Water on the room side means humid air (a properly sized dehumidifier usually fixes it). Water underneath means it’s coming through the concrete. Fix gutters, downspouts and grading first, then look at drainage systems if water still gets in. Our waterproofing cost calculator prices the options.
While you’re testing, run a radon test too. Mitigation is far easier and cheaper before walls go up.
Go deeper: The Planning Guide in our Complete Basement Finishing Toolkit includes the full readiness checklist: the warning signs to look for, which water fixes to try first (with costs), when a crack needs a structural engineer, and what to check on your furnace and electrical panel before you build.
Step 2: Plan the layout and pull permits
Measure the basement and draw it to scale on graph paper. Mark everything that can’t easily move: the furnace, water heater, electrical panel, sump pit, support posts, the main drain stack, and any ducts or pipes hanging below the joists. Then fit your rooms around them, not the other way around.
A few layout rules save DIYers the most money and grief:
- Keep it open. Every wall you add means more framing, drywall, a door, trim and wiring.
- Put the bathroom near the main drain. Every foot of new drain line or slab trench adds cost. (Our basement bathroom calculator prices it.)
- Put bedrooms on an exterior wall where an egress window can go. A room without one can’t legally be a bedroom.
- Leave mechanicals accessible. The furnace, water heater and panel all need clear working space.
- Check your ceiling height. Most codes want about 7 ft in living spaces, which decides whether you can afford to lose inches to a drop ceiling.
Then take your drawing to the building department. Most towns require permits for new rooms, electrical, plumbing, HVAC and egress windows, and many let homeowners pull their own permit for the work they’re doing. The permit also sets your inspection schedule, which drives the order of everything that follows.
The toolkit’s Planning Guide covers ceiling heights, egress sizes, room minimums, clearances and the layout zones that keep costs down, so your plan passes the first time.
Step 3: Insulate the foundation walls
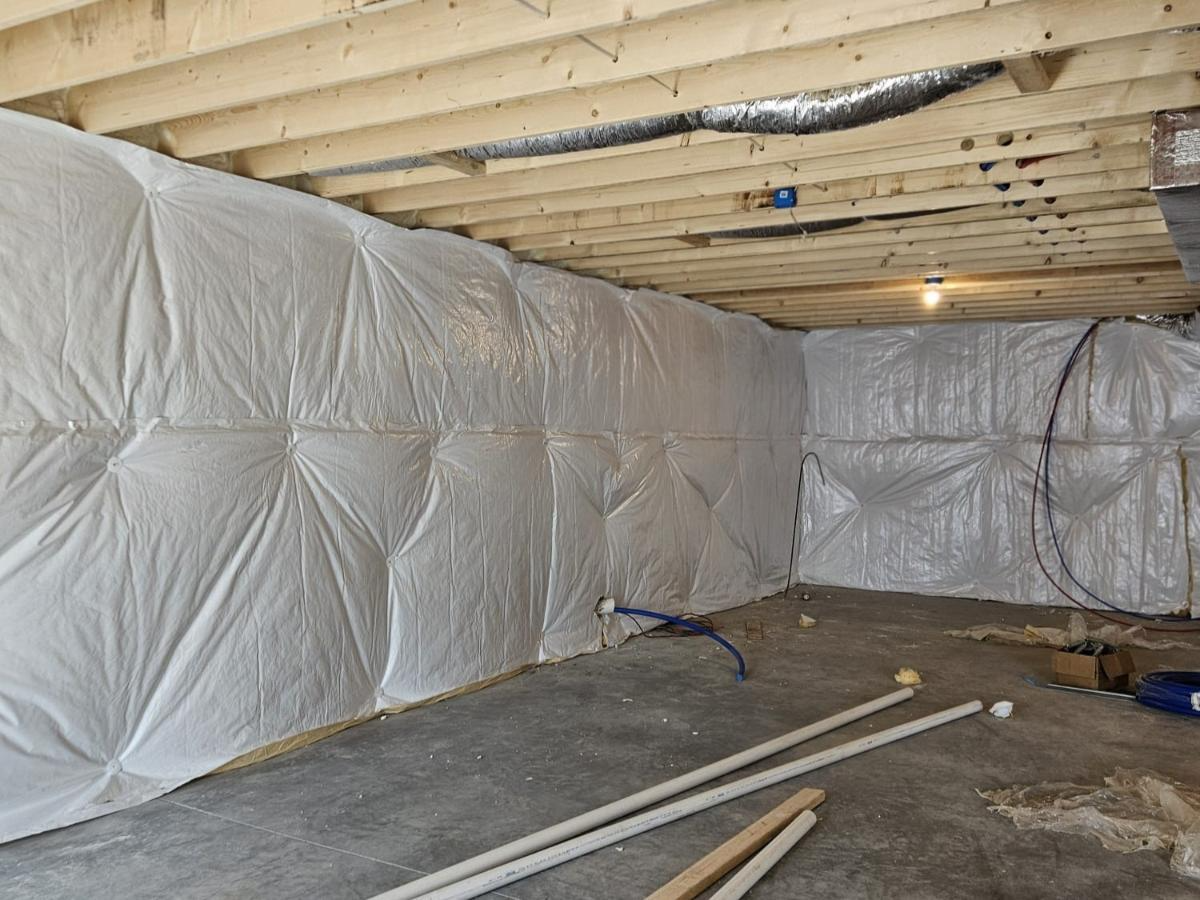
The most reliable way to finish basement walls today is to glue rigid foam board directly to the concrete, then build your stud wall in front of it. Foam doesn’t absorb water, it keeps the surface behind your framing warm enough to avoid condensation, and it adds insulation value. The old method of fiberglass batts against bare concrete with plastic sheeting over the studs traps moisture against the wall, and it’s behind a lot of moldy basements. (More on that in foam vs. fiberglass for basement walls.)
How to install foam board on basement walls
- Clean the wall. Scrape off efflorescence, loose paint and dirt with a wire brush. Adhesive won’t hold to dust.
- Use foam-safe adhesive. Many construction adhesives dissolve foam. Buy one labeled for foam board and apply it in vertical beads.
- Start at a corner, sheets vertical. Press each sheet firmly, butting edges tight. A few concrete screws with washers hold sheets while the adhesive cures.
- Cut around obstacles with a utility knife or fine-tooth saw. Leave a small gap around pipes and fill it with spray foam.
- Tape every seam with foam board tape to create a continuous air and moisture barrier.
- Do the rim joists. The band of wood above the foundation is one of the leakiest spots in a house. Cut foam pieces to fit each bay and seal the edges with canned spray foam.
Don’t leave foam exposed. Most foam boards are flammable and must be covered by a thermal barrier such as 1/2 in. drywall. That’s normally not a problem since you’re framing and drywalling in front of it, but it matters in a utility room you plan to leave unfinished.
Step 4: Frame the walls
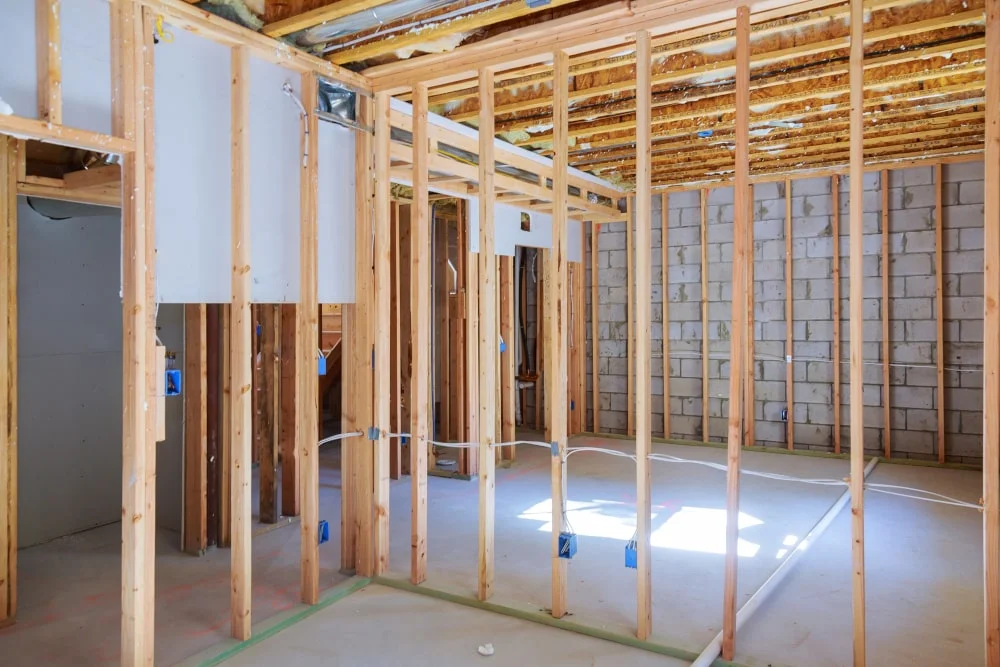
Framing is where your basement starts to look like rooms, and it’s the biggest chunk of labor most DIYers take on. Here’s the approach that works best in basements:
- Snap your layout lines. Use a laser level and chalk line to mark every wall on the slab. Hold exterior walls about 1/2 in. off the foam so the wall doesn’t have to follow a wavy foundation.
- Use pressure-treated bottom plates. Any wood touching concrete must be pressure-treated. Put a foam sill gasket under the plate as a capillary break.
- Fasten plates to the slab with a powder-actuated nailer or concrete screws, roughly every 24 in. and within a foot of each end.
- Build walls on the floor and tilt them up, or install top and bottom plates first and fit each stud. Basement floors and ceilings are rarely level, so the second method (cutting each stud to fit) usually gives better results.
- Attach top plates to the joists. When a wall runs parallel to the joists and doesn’t land on one, add blocking between joists every 2 ft to fasten to.
- Frame soffits around ducts, beams and pipes. Group them along walls where you can instead of chasing them across the room.
- Add fire blocking where code requires it, typically at the top of walls and where soffits meet walls.
- Add blocking now for everything you’ll hang later: TV mounts, shelves, towel bars, grab bars and cabinets.
Pro tip: Photograph every wall before it’s closed up, with a tape measure in the shot. Six months from now, when you want to hang a heavy mirror or find a pipe, those photos are gold.
How much lumber will you need? That depends on your wall lengths, ceiling height and stud spacing, plus waste for corners and openings. Rough guesses lead to extra trips to the store, or a pile of unused lumber you can’t return.
Enter your wall lengths and ceiling height in the toolkit’s Materials Estimator and get quantities for studs, plates, foam, drywall, mud, flooring, trim, paint and electrical, with a running budget.
Step 5: Rough-ins and the rough-in inspection
With the studs exposed, the electrician, plumber and HVAC contractor run everything that will live inside the walls. This is where you switch from builder to project manager. You’re not doing the work, but you’re making sure it happens in the right order and gets inspected before anything is covered.
What you can do yourself during rough-in
- Walk the space with each trade and mark every outlet, switch, light and register on the studs with a marker. Changes are cheap now and expensive later.
- Over-plan outlets and lighting. Basements are dark, and adding a light after drywall means cutting holes.
- Run low-voltage wiring for TV, internet and speakers, where your town allows. It’s not covered by most electrical permits and it’s easy while the walls are open.
- Sequence the trades: plumbing first (drains need straight runs and slope), then HVAC ducts, then electrical.
- Schedule and attend the inspection. Nothing gets covered until the framing, electrical, plumbing and mechanical work is signed off.
Adding a bathroom? Settle the drain question first
The biggest cost swing in a basement bathroom is how waste water leaves. If your builder left capped drain pipes in the slab, you’re in luck. If the main sewer line runs under the floor, a plumber can cut a trench and tie in. If the main line exits the foundation above floor level, you’ll need a pump. Each route has very different costs, and the answer can change where the bathroom goes.

The toolkit’s Be-Your-Own-GC Kit includes a schedule that calculates dates, scope sheets for every trade, a ready-to-send bid request, a bid comparison table, an inspection tracker and a payment log. The Bathroom Planner compares all four drain routes for your space.
Step 6: Insulate and soundproof
Once the rough-in inspection passes, fill the stud bays where your plan calls for it. With continuous foam already on the concrete, many basements only need cavity insulation to reach their local energy code. Check what your climate zone requires when you pull the permit.
This is also the cheapest moment to add sound control. Unfaced batts or mineral wool in the ceiling joists cut noise between floors, and insulating the walls around a bedroom, office or theater makes them noticeably quieter. Solid-core doors on those rooms help even more. For a full approach, see how to soundproof a basement ceiling.
Some towns require an insulation inspection before drywall. Ask when you get your permit.
Step 7: Hang and finish drywall
Drywall is where DIY basements succeed or show their seams, literally. Hanging it is heavy but straightforward. Finishing it so the joints disappear under raking basement light takes practice.
Drywall tips for basements
- Ceiling first, then walls. Wall sheets help support the ceiling edges. Rent a drywall lift for the ceiling.
- Use moisture- and mold-resistant board below grade, and keep the bottom edge about 1/2 in. off the slab. Baseboard covers the gap.
- Use the longest sheets you can handle to minimize butt joints. 12 ft sheets mean fewer seams to finish if you can get them down the stairs.
- Mark studs, pipes and wires on the floor before you cover them so you don’t drive a screw into a pipe.
- Don’t over-drive screws. The head should dimple the paper, not tear it.
- Leave access panels at valves, cleanouts and junction boxes.
- Three coats of mud, each wider and thinner than the last, with full drying time between. Rushing this is the most common DIY mistake.
A smart hybrid: Hang the drywall yourself and hire a finisher for taping and mudding. You save most of the drywall labor, and a pro finisher will get the walls flat in a fraction of the time it would take you.
Step 8: Ceiling, paint and flooring
Ceiling
You have three choices. Drywall looks the most finished and keeps headroom. A drop ceiling keeps pipes, wires and shutoffs accessible but costs 3–6 in. of height. An exposed ceiling sprayed black or white is the budget option with an industrial look. Drop ceilings are a great DIY job: set the wall angle with a laser level, hang main tees on wires every 4 ft, then drop in cross tees and tiles. Install the grid after the walls are painted and the tiles near the end.
Paint
Prime all new drywall, then paint the ceiling, then the walls. Do it before flooring goes in so you can roll freely without protecting new floors. Save some paint for touch-ups after trim.
Flooring
Waterproof luxury vinyl plank is the go-to for DIY basements. It looks like wood, shrugs off moisture and clicks together as a floating floor right over the slab. Before you lay it:
- Check the slab for moisture with a meter or the plastic sheet test.
- Check flatness. Most click flooring wants the floor within about 3/16 in. over 10 ft. Grind high spots and fill low spots with patching compound.
- Acclimate the flooring in the basement for 48 hours, or whatever the manufacturer says.
- Leave the expansion gap at the walls that the instructions call for. The baseboard hides it.
Compare LVP with carpet, tile and other options in our basement flooring guide.
Step 9: Trim, doors and the final inspection
Prehung doors make door installation a manageable DIY job: shim the jamb plumb, nail it off, then run casing. Baseboard goes in after flooring. Cope inside corners instead of mitering them if you want joints that stay tight. Caulk, fill nail holes and touch up paint.
Then your licensed trades come back to finish: the electrician installs devices, fixtures and smoke and CO alarms, the plumber sets fixtures, and the HVAC contractor installs registers and balances the airflow. Schedule the final inspection, and get the sign-off in writing. A closed permit means your new space counts as finished square footage when you sell.
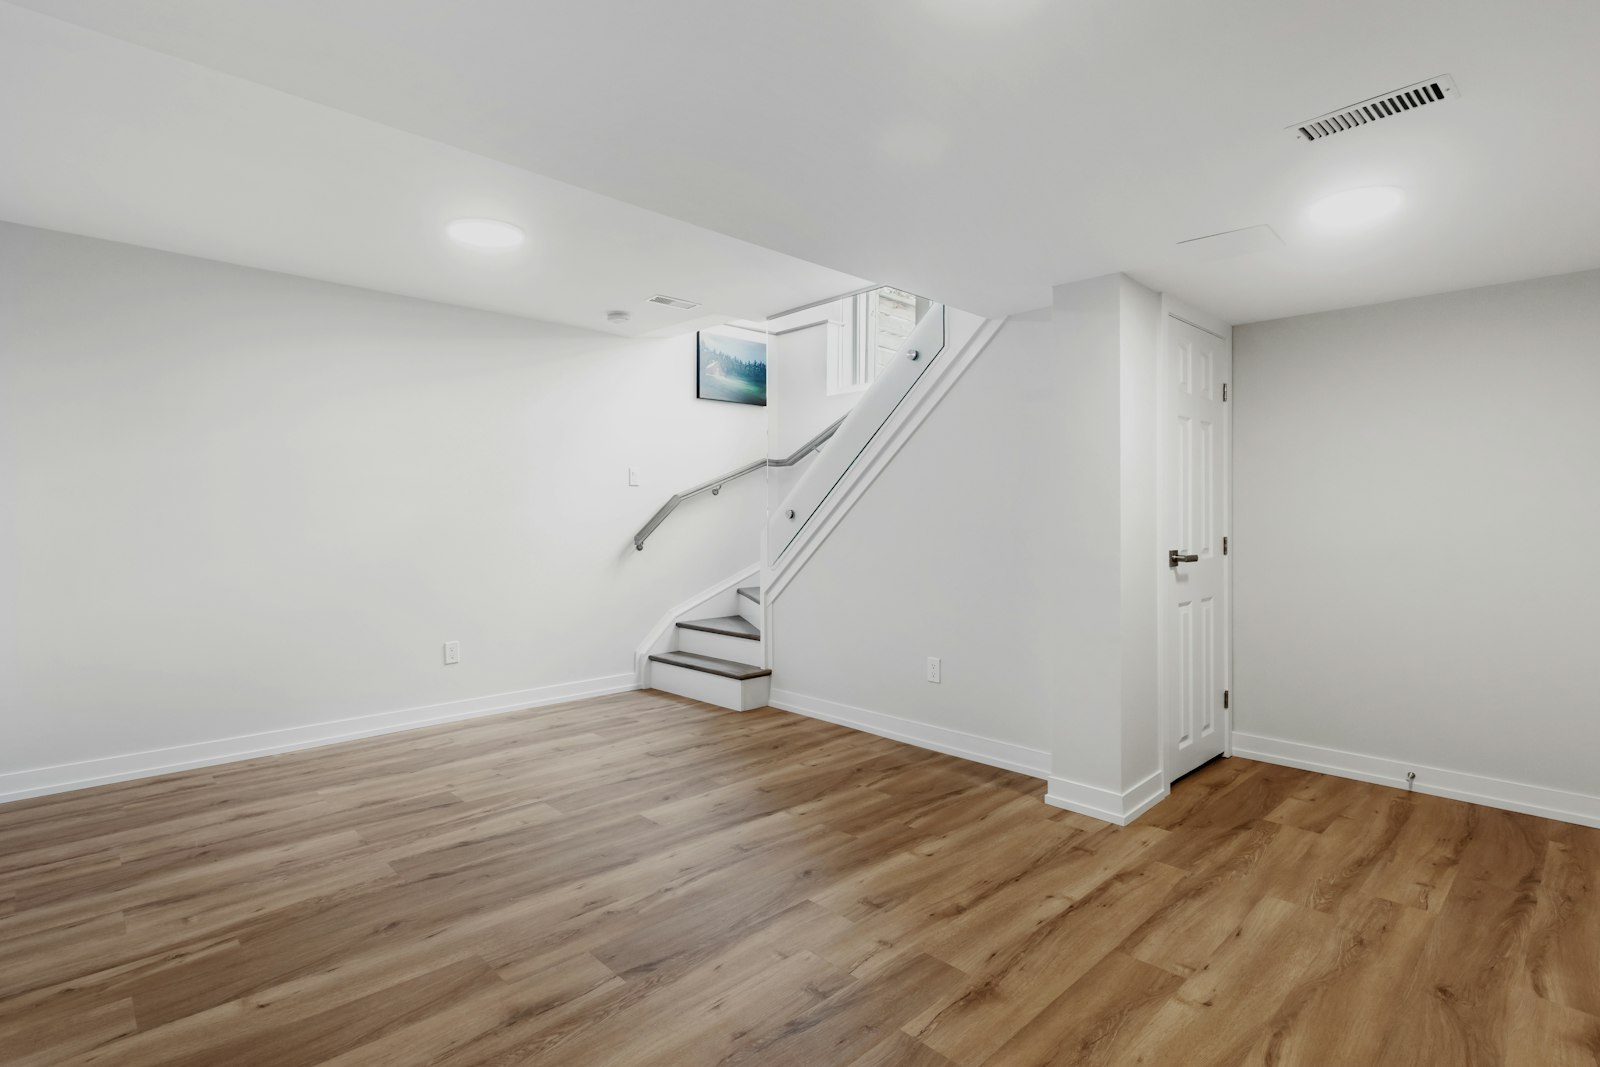
How much can you save by finishing a basement yourself?
A professionally finished, mid-range 800 sq ft basement without a bathroom runs about $33,000 at average U.S. prices. Here’s roughly how much of that labor a DIYer can capture by trade, assuming you still hire the licensed work:
| Work you do yourself | Typical labor saved |
|---|---|
| Demo, prep and cleanup | $800–$1,500 |
| Foam board and insulation | $1,000–$2,000 |
| Framing | $2,000–$4,000 |
| Hanging drywall (finish hired) | $1,500–$2,500 |
| Painting | $2,000–$3,500 |
| Flooring | $1,000–$2,000 |
| Doors and trim | $1,000–$2,000 |
| Acting as your own general contractor | 15–20% of the hired work |
| Total | about $10,000–$18,000 |
That puts a mostly-DIY basement at roughly $25–$45 per sq ft, compared with $40–$65 for a typical mid-range professional job. Your numbers depend on your size, finishes and local labor rates. Run them in our free basement finishing cost calculator and switch each trade to DIY to see your savings.
How long does a DIY basement take?
Professional crews finish an average basement in about 6–10 weeks. Working evenings and weekends, most DIYers take 3–8 months, and longer with a bathroom. A realistic DIY timeline for an 800 sq ft basement looks like this:
| Phase | Weekends (typical) |
|---|---|
| Testing, planning and permits | 2–6 weeks of calendar time |
| Demo, foam and framing | 4–8 weekends |
| Rough-ins and inspection (hired) | 2–4 weeks of calendar time |
| Insulation and drywall hanging | 3–5 weekends |
| Drywall finishing (or hire it) | 3–6 weekends |
| Paint, ceiling and flooring | 3–5 weekends |
| Trim, doors, finish trades, final | 2–4 weekends |
7 DIY mistakes to avoid
- Building over a moisture problem. Fix the water first. Always.
- Skipping the permit. Unpermitted space can derail a sale, an appraisal or an insurance claim.
- Covering work before it’s inspected. The fix is tearing open finished walls.
- Using regular lumber on concrete. Bottom plates must be pressure-treated.
- Trapping moisture with plastic and fiberglass against the foundation wall.
- Under-planning outlets and lights. Adding them after drywall is painful.
- No contingency. Basements hide surprises. Hold back 10–15% of your budget.
More in costly basement finishing mistakes and the 12-step basement finishing checklist.
Everything you need to plan, budget and manage your basement finish, built as one system so your layout, materials, bathroom and bids all line up.
- Basement Finishing Planning GuideA 19-page PDF covering readiness checks, the code rules that shape your layout, budgeting, DIY vs. hire and the full build sequence.
- Materials EstimatorEnter your measurements and get a 40-line shopping list and materials budget, with links to compare prices.
- Be-Your-Own-GC KitSchedule, trade scope sheets, bid request, bid comparison, inspection tracker and payment log.
- Basement Bathroom PlannerCompare all four drain routes and build a line-item bathroom budget, DIY or pro.
- Bonus: Basement Finishing ChecklistThe step-by-step order to keep you on track.
- Bonus: Budget & Project TrackerTrack quotes and every dollar you spend.
Frequently asked questions
Can I finish my basement myself?
Yes. Most handy homeowners can do the demo, insulation, framing, painting, flooring, trim and drop ceiling themselves. Electrical, plumbing and HVAC work are usually left to licensed pros, and many towns require it. Drywall finishing and tile showers are the jobs DIYers most often decide to hire out.
How much does it cost to finish a basement yourself?
Doing most of the labor yourself and hiring the licensed trades typically brings the cost to about $25–$45 per square foot, compared with $40–$65 for a mid-range professional job. On an 800 sq ft basement, that’s often $10,000–$18,000 in labor savings.
What is the cheapest way to finish a basement?
Keep the layout open, skip the bathroom, paint or spray the ceiling instead of covering it, use carpet or sealed concrete on the floor, and do the framing, painting, flooring and trim yourself. Done that way, a basic finish can come in well under $30 per square foot.
How long does it take to finish a basement yourself?
Most DIYers working evenings and weekends take 3–8 months for an average basement, and longer if they add a bathroom. Permit approvals, inspections and drywall drying time account for much of the calendar time.
Do I need a permit to finish my basement myself?
In most U.S. towns, yes, especially for new rooms, electrical, plumbing, HVAC and egress windows. Many building departments let homeowners pull their own permits for work they do themselves. Permits typically cost $600 to $3,000 or more.
Can I do my own electrical work in a basement?
It depends on your state and town. Some allow homeowners to do their own wiring with a permit and inspection; others require a licensed electrician. Even where it’s allowed, most DIYers hire an electrician because mistakes carry a real fire risk.
What should I put on concrete basement walls before framing?
Rigid foam board glued directly to the concrete with foam-safe adhesive, seams taped. It insulates, resists moisture and keeps the surface behind your framing warm enough to prevent condensation. Avoid fiberglass with plastic sheeting directly against concrete, which can trap moisture.
What order do you finish a basement in?
Fix moisture, plan and permit, insulate the foundation walls, frame, rough in electrical, plumbing and HVAC, pass the rough-in inspection, insulate and soundproof, hang and finish drywall, paint, install the ceiling and flooring, then trim, doors, fixtures and the final inspection.
Is finishing a basement worth it?
For most homeowners, yes. It’s the cheapest way to add living space because the foundation, walls and roof already exist. Finished basements typically recoup around 70% of their cost at resale, and doing much of the work yourself improves that return considerably.
Get the planning guide, materials estimator, bathroom planner and GC kit in one $37 download, and start your basement with a real plan and budget.