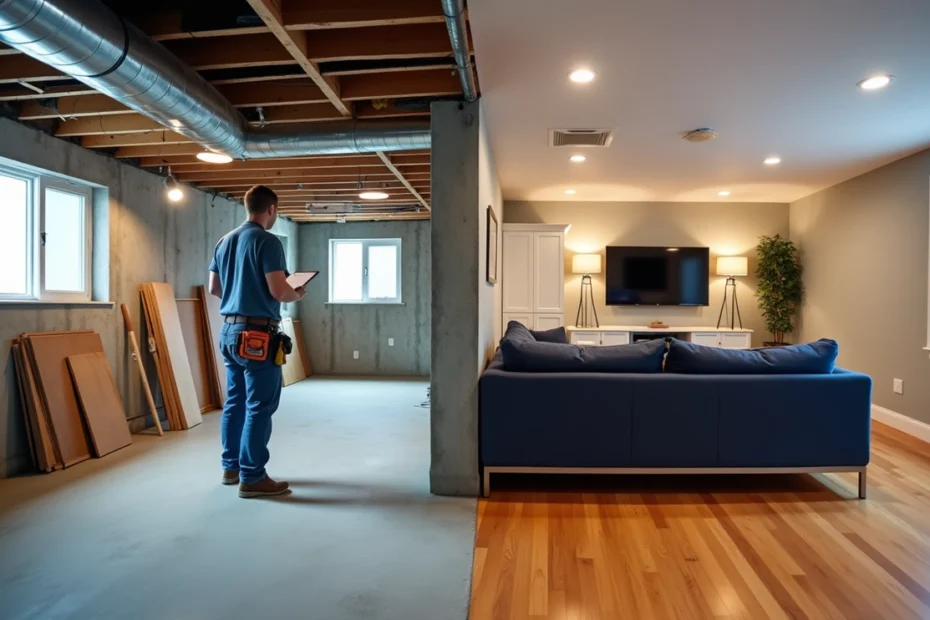
Finishing a basement is one of the most cost-effective ways to add living space, but it’s also easy to get wrong. Most projects cost $30 to $80 per square foot, with mid-range finishes landing around $40 to $65, so a typical 800 sq ft basement runs roughly $33,000 without a bathroom and $50,000 with one. This checklist covers what to decide, inspect and plan before the work starts, so that money is protected. (If you’re looking for the exact sequence of the work, see our guide to the 12 steps to finish a basement in the right order.)
The biggest risks are moisture, code problems and budget surprises. Below you’ll find what to check for each one: ceiling heights, egress windows, permits, and how to plan around the mechanical systems that are already in your basement.
Define Your Basement Goals
Your basement renovation succeeds or fails on how clearly you define what the space is for. The purpose drives nearly every other decision, including plumbing, electrical, soundproofing and code requirements.
Decide how the space will be used
A finished basement is often the least expensive way to add valuable square footage to your home, because the foundation, roof and exterior walls are already paid for. Popular uses include:
- Entertainment space with a media room or bar
- Guest suite or in-law apartment with a bedroom and bathroom
- Home office or quiet workspace
- Home gym
- Kids’ playroom with built-in storage
- Game room or hobby space
Each use has different requirements. A bedroom needs an egress window. A bathroom or bar needs drains. A home theater or gym needs extra wiring and sound insulation. Settle this first, because changing plans after the walls are up is expensive.
Think about future flexibility
Many homeowners now prefer multi-functional basement layouts. You don’t have to pick a single theme. An open, multipurpose space can serve the whole family, and today’s playroom can become tomorrow’s teen hangout or media room.
Build that flexibility in now. Add more outlets and data lines than you think you need, put plumbing and electrical infrastructure where a future bathroom or kitchenette could go, and favor movable furniture over built-ins in areas whose use may change.
Account for family needs and lifestyle
Start with the problems your household has now. Maybe you need storage to cut down on clutter, or a place for kids to hang out that isn’t the living room. You might also need to plan for multi-generational living if aging parents or adult children could move in, which affects bathroom access, lighting and stairs.
Well-designed basements adapt to life’s changes. Thoughtful planning turns this checklist into a blueprint that works for years.
Inspect and Prepare the Space
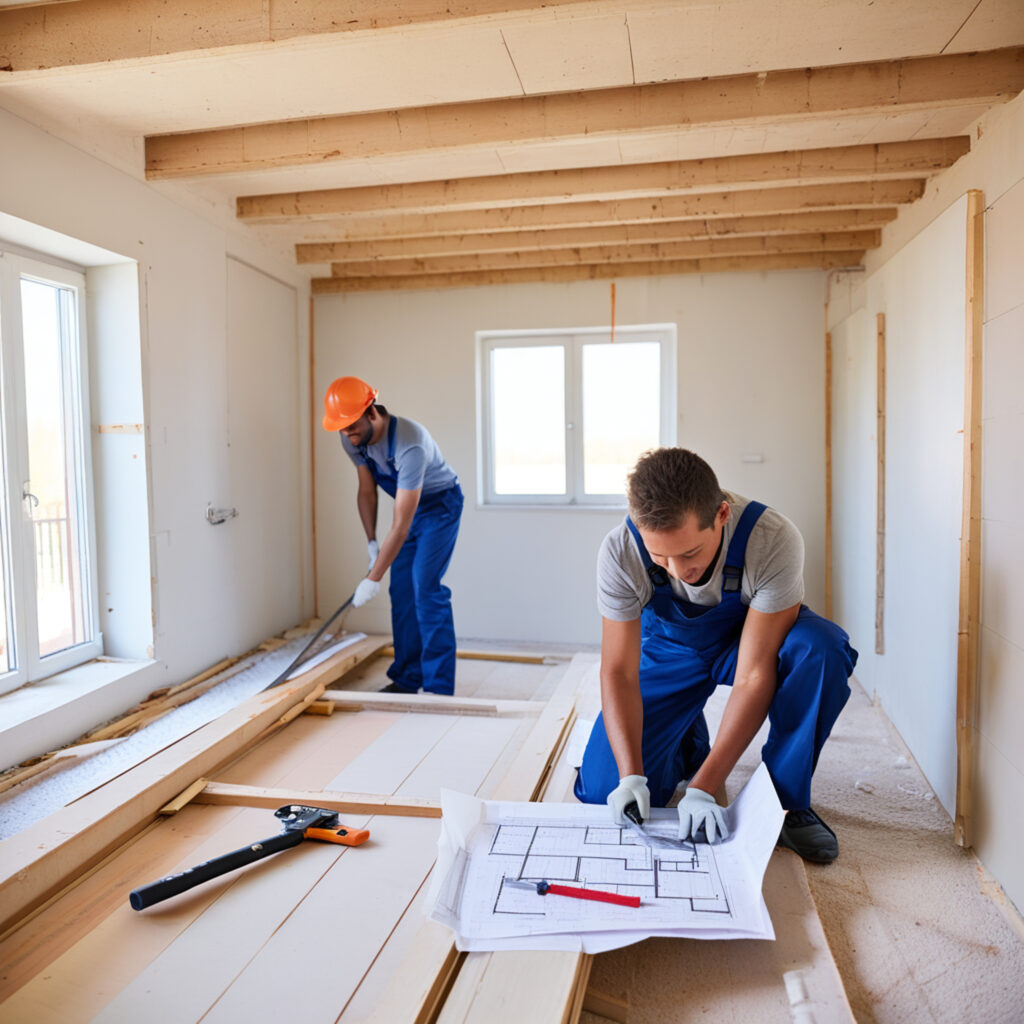
A careful inspection before you start can save thousands in repairs later. Problems are far cheaper to fix while the walls are still bare.
Check for moisture and waterproofing needs
Moisture problems are the most common basement issue. Look for white chalky deposits (efflorescence), musty odors, water stains, damp surfaces, and cracks in the walls. The direction of a crack matters: horizontal and stair-step cracks usually point to soil pressure, not just shrinkage.
Tape a two-foot square of plastic to the floor and walls for a week or two. Moisture on top means humid air, which a dehumidifier can handle. Moisture underneath means water is coming through the concrete and needs to be fixed before you finish. Finishing over a water problem leads to mold, rotted framing and ruined flooring, and waterproofing first costs far less than replacing water-damaged finishes. Price the options with our basement waterproofing cost calculator.
Test for radon
Radon is a radioactive gas that seeps up from the soil and is the second-leading cause of lung cancer in the United States. Test before finishing, especially if the basement has never been tested or you plan to spend more time down there. The EPA recommends mitigation at 4.0 pCi/L or higher. Kits cost $15–$25 at hardware stores or online, and mitigation systems are much easier to install before the walls go up. (As an Amazon Associate we earn from qualifying purchases.)
Verify ceiling height and egress
Most building codes require about 7 feet of finished ceiling height in habitable basement rooms, with beams and ducts allowed to drop to roughly 6 feet 4 inches. Measure before you commit to a drop ceiling, which can take 3–6 inches of headroom.
Egress windows are mandatory for any basement bedroom. They serve as emergency exits and entry points for firefighters. A typical egress window needs a net clear opening of at least 5.7 square feet, a sill no higher than 44 inches from the floor, and a window well you can climb out of. Adding one usually costs $4,000–$6,000.
Assess the foundation
Watch for diagonal or horizontal wall cracks, bowing walls, uneven floors and sticking doors. Small signs often point to bigger problems, and a structural engineer’s report ($500–$1,000) will explain the cause and the fix before you cover anything up. Our foundation repair cost calculator can help you budget for repairs.
Plan the Build: Budget, Permits, and Layout
Careful planning of the budget and layout is the difference between a smooth renovation and an expensive one.
Set a realistic budget
Basement finishing costs depend mostly on size, finish level and whether you add a bathroom. At average U.S. prices, without a bathroom, expect roughly:
- 500 sq ft: $18,000–$38,000
- 750 sq ft: $26,000–$55,000
- 1,000 sq ft: $34,000–$68,000
- 1,500 sq ft: $48,000–$95,000
Add $10,000–$20,000 for a half or full bathroom. Labor usually makes up 60–65% of the total, which is why doing some of the finish work yourself saves real money. Set aside a 10–15% contingency for surprises behind the walls. Our basement finishing cost calculator prices your exact project.
Understand permit requirements
Most basement finishing projects need building permits, which typically cost $600 to $3,000 depending on your town and scope. Permits are almost always required for:
- Framing new rooms
- Electrical work, including new circuits
- Plumbing installations or alterations
- HVAC changes and egress windows
Talk to your building department early about ceiling heights, egress and clearances around the furnace and water heater. Skipping permits can mean fines, trouble with insurance claims, and finished space that doesn’t count when you sell.
Decide between a contractor and DIY
A general contractor typically adds a 10–25% markup for managing the job, but delivers code-compliant work on a predictable schedule. Many homeowners take a middle path: hire licensed trades for the technical work and do the finish work themselves.
- DIY-friendly: demolition and cleanup, painting, flooring, trim, basic framing
- Hire a pro: electrical, plumbing, HVAC and anything structural. Many towns require licensed trades for these.
Design around HVAC, plumbing, and electrical systems
Plan the layout around the systems already in your basement. For HVAC:
- Keep an accessible mechanical room for the furnace, water heater and electrical panel
- Plan ventilation to keep moisture in check
- Confirm your system can heat and cool the added space, or budget for a mini-split
For plumbing:
- Check for existing drain rough-ins in the slab. Without them, cutting concrete adds $3,000–$6,000.
- Fixtures below the sewer line may need an ejector pump or an upflush toilet
- Leave access panels at shutoff valves and cleanouts
For electrical, codes generally require that no point along a wall is more than 6 feet from an outlet, so outlets end up no more than 12 feet apart. Plan dedicated circuits for any bathroom, bar or home theater, and consider a subpanel if you’re adding a lot of new circuits.
Execute the Remodel: Step-by-Step Checklist
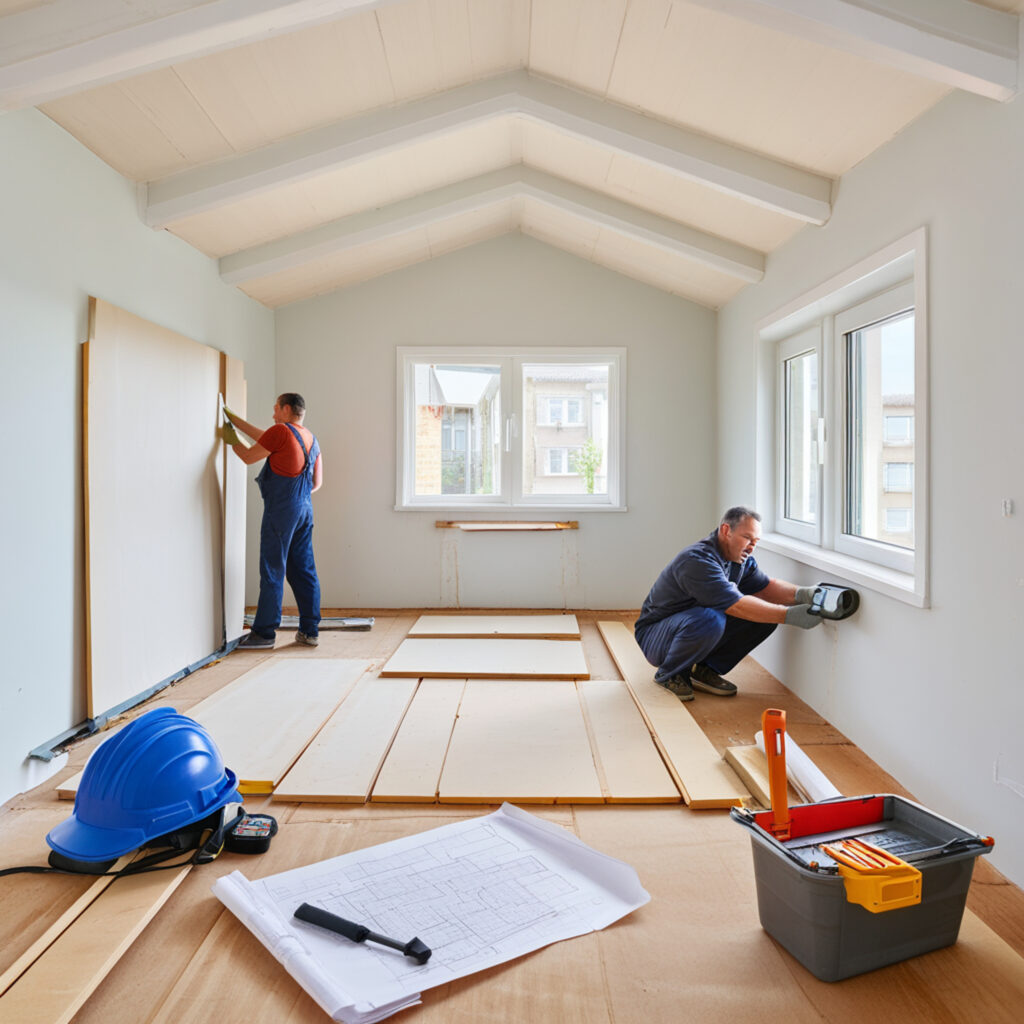
Doing the work in the right order protects everything you’ve planned. Each stage below builds on the one before it.
Getting the order right matters. Electrical and plumbing rough-ins go in before insulation, and most towns require a rough-in inspection before any drywall goes up. For the full sequence with costs and timelines for each stage, follow our step-by-step guide to finishing a basement in the right order.
1. Frame the walls
Many builders first glue rigid foam insulation directly to the foundation walls and rim joists, since it doesn’t absorb moisture. Then build 2×4 walls with studs 16 inches apart, using pressure-treated lumber for the bottom plates on concrete. Frame openings for doors, egress windows, soffits and access panels now.
2. Rough in plumbing, electrical and HVAC
With the studs exposed, run everything that will live inside the walls and ceiling. Drain lines need a minimum 1/4-inch slope per foot for proper flow. Electrical boxes are nailed or screwed to the studs, with cable run through drilled holes and stapled along the framing. Add ductwork, low-voltage cabling for TV and internet, and recessed-light housings at this stage too.
3. Pass the rough-in inspection
Before anything gets covered, an inspector checks the framing, wiring, plumbing and mechanical work. Don’t insulate the stud cavities or hang drywall until you pass. Covering uninspected work can mean tearing finished walls back open.
4. Insulate
Fill the stud cavities with fiberglass or mineral wool, or use closed-cell spray foam for the best air and moisture seal. Add sound insulation in the ceiling and around bedrooms, offices or a theater. Good insulation keeps temperatures even and helps prevent condensation and mold.
5. Hang drywall and finish the ceiling
Hang the ceiling first, then the walls, using mold-resistant drywall below grade. Taping and finishing takes practice, so many homeowners hire this part out. If you need access to pipes and wires, a drop ceiling or PVC panels are good alternatives to a drywall ceiling.
6. Prime and paint
Prime all new drywall, then paint the ceiling before the walls. Choose a mold-resistant paint in satin or semi-gloss. Painting before the floors go in means you don’t have to protect new flooring from drips.
7. Install flooring
Choose water-resistant materials. Luxury vinyl plank is the go-to below grade, porcelain tile works well in bathrooms, and engineered hardwood can work in a very dry basement. The slab must be clean, level and dry before installation. Compare basement flooring options.
8. Install trim, doors and light fixtures
Hang interior doors, install baseboard and casing, and have the electrician install fixtures, outlets and switches. Plan lighting in layers: recessed lights for general light, plus lamps and wall sconces to add warmth to a space with little daylight. Finish with caulk and touch-up paint, then schedule the final inspection.
9. Furnish and decorate
Once the final inspection is passed, bring in the furniture. Use rugs and furniture groupings to separate activity areas, pick light wall colors to brighten the space, and choose multi-functional pieces like storage ottomans. Artwork and mirrors make a basement feel like part of the house.
Conclusion
A well-planned basement turns unused space into one of the most useful parts of your home. Start with clear goals, fix any moisture, radon and structural problems while the walls are bare, and plan the budget, permits and layout before any work begins.
Then do the work in the right order: frame, rough in the systems, pass inspection, insulate, drywall, paint, floor and trim. Following that sequence, and this checklist, keeps your project on budget, up to code and built to last.