Want a basement home theater but worried about the cost? You’re not alone. A professional home theater setup costs $25,000 on average, and custom installations can run over $100,000. The good news? Your basement can become an amazing theater without draining your savings.
Your basement’s natural features make it the perfect spot for a home theater. The space’s natural soundproofing keeps outside noise away. You can build an incredible movie room that fits your budget, whether you want a simple design or something more upscale. A well-laid-out basement theater could also boost your home’s value substantially.
This piece will help you build your dream basement theater while keeping costs under control. We’ll show you everything from budget-friendly starter options ($2,000-$5,000) to mid-range improvements ($5,000-$15,000) and luxury setups ($15,000+). You’ll find the perfect cinema experience that works with your budget.
Choose the right basement space
The basement’s natural characteristics make it an ideal candidate for your home cinema dreams. First and foremost, understanding these inherent advantages will help you maximize your space without unnecessary expenses.
Look for natural darkness and quiet
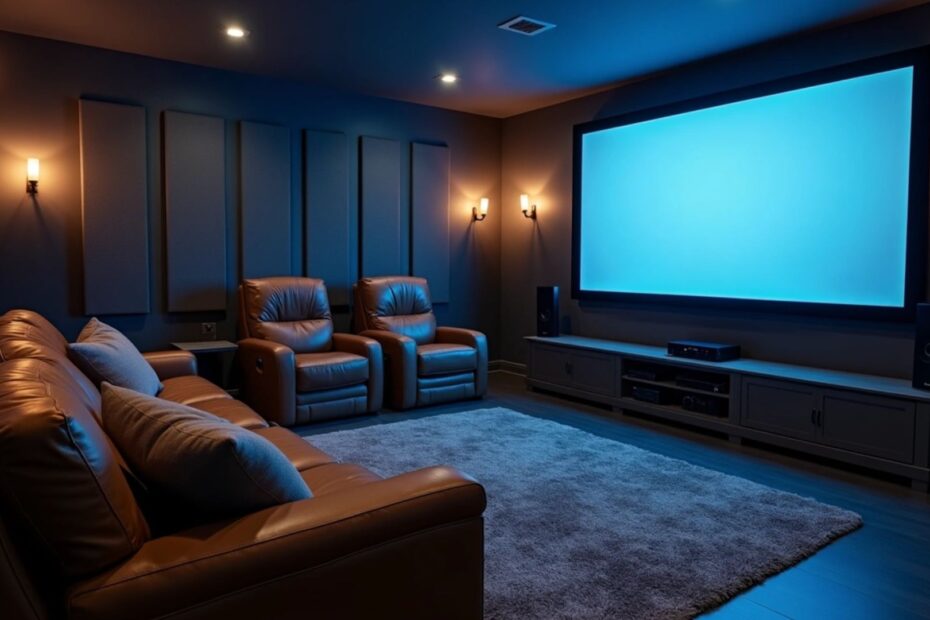
Nature has already done half the work for you when it comes to basement theaters. Basements are naturally dark environments, typically featuring few windows or minimal natural light, making them perfect for controlling lighting conditions essential for a cinematic experience. This darkness eliminates the need for expensive blackout curtains or complicated light-blocking designs.
Additionally, the surrounding earth acts as a natural sound insulator. This geological barrier works double-duty – keeping external noise out while preventing your action movie explosions from disturbing the rest of your household. With concrete foundation walls usually made of cinder block or poured concrete, late-night sounds stay contained within your theater room.
Furthermore, most basements remain outside your home’s main traffic flow, reducing interruptions from household activities. This isolation creates a more immersive viewing experience without distractions.
Avoid major structural changes
Before diving into construction, assess your basement thoroughly. Check the room dimensions, ceiling height (ideally 7.5+ feet), electrical capacity, and identify any structural obstacles like ductwork or support beams.
Instead of extensive renovations, work with what you have. The basement’s open floor plans often provide flexibility for your theater layout. Look for areas that already have the right dimensions and minimal obstructions to reduce construction costs and complexity.
Use existing walls and flooring
Those concrete floors and cinder block walls aren’t just functional – they’re valuable assets for your theater design. Concrete floors transmit fewer vibrations than wooden floors, improving sound quality. Meanwhile, foundation walls provide natural soundproofing benefits.
Moreover, unfinished basements make it significantly easier to run wires or install speakers in walls and ceilings without ripping out existing drywall. This advantage alone can save considerable time and money compared to converting finished spaces in your home.
For DIY basement home theater enthusiasts, these existing structural elements save time, money, and labor in the long run. With minimal teardown required, you can focus your budget on equipment and comfort rather than extensive construction.
Smart ways to save on A/V equipment
Building your basement home theater doesn’t mean you need to spend big money on new equipment. Smart planning helps you create an amazing setup that won’t break the bank.
Use what you already own
You probably have audio equipment somewhere in your house that could work great in your basement theater. Those speakers in your storage could really boost your TV’s sound quality. The truth is, any decent front-facing speakers will sound way better than your TV’s built-in ones.
You’ll need a basic amp like the Kinter MA170+ to hook up passive bookshelf speakers. Even old stereo system speakers can become part of your theater setup. That old home theater system with broken electronics? The speakers usually last longer, and you can reuse them with minimal cost.
Buy secondhand or refurbished gear
Certified refurbished gear saves you money while giving you quality equipment. Denon’s refurbished receivers cost 24-30% less than new ones. Their AVR-S760H 7.2 channel receiver sells for $329 instead of $699. The same goes for their sound bars – $499 versus $699 new.
You can also find great deals on open-box items from stores like Adorama. The Klipsch Reference Dolby Atmos 5.1.4 Speaker Package might pop up for $377 instead of $499 – that’s 24% off. These refurbished products go through testing and usually come with warranties.
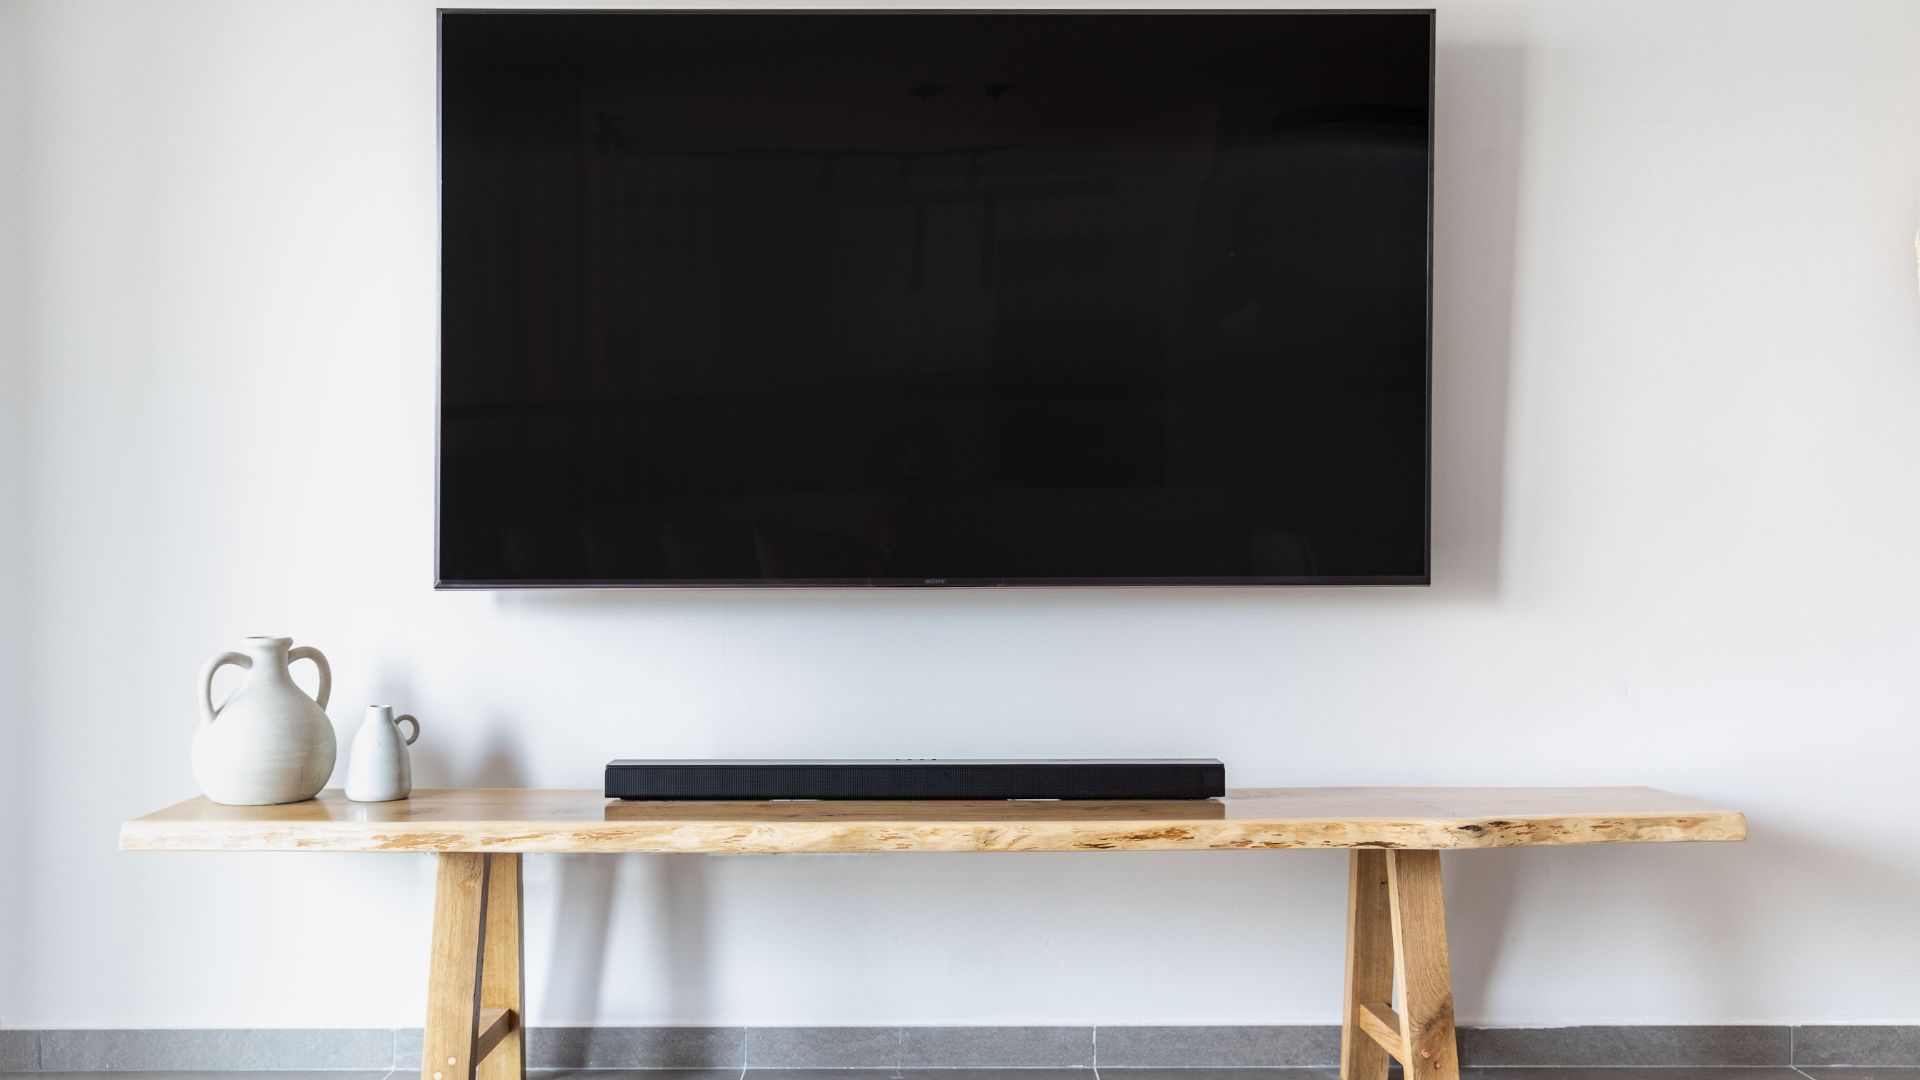
Compare the projector vs the TV for cost-effectiveness
Both options work well in basements. Quality TVs have become cheaper in the last decade. A 75-inch TV ranges from $700 to $4,000, depending on what features you want.
Projectors might cost more upfront, but give you bigger screens. They work great in basements because the darkness helps the image quality. When you want screens bigger than 100 inches, projectors are your best bet.
Let’s talk numbers. A 100-inch QLED TV costs around $189. A similar projector setup runs $350-$400 plus $800 for a good screen. Your space and viewing habits will help you decide which option gives you better value.
Budget-friendly upgrades that make a big impact
You don’t need expensive equipment to turn your basement into an amazing home theater. Simple, affordable changes can make a huge difference in your viewing experience.
Paint walls with dark matte colors
Dark paint absorbs light instead of reflecting it, which makes your screen’s images stand out with better contrast. Black, dark gray, navy, dark brown, or emerald-green in a flat or matte finish will minimize glare. Glossy paints create distracting reflections during movies, so they’re best avoided. Burgundy or maroon shades give you that classic cinema feel, just like traditional theater curtains.
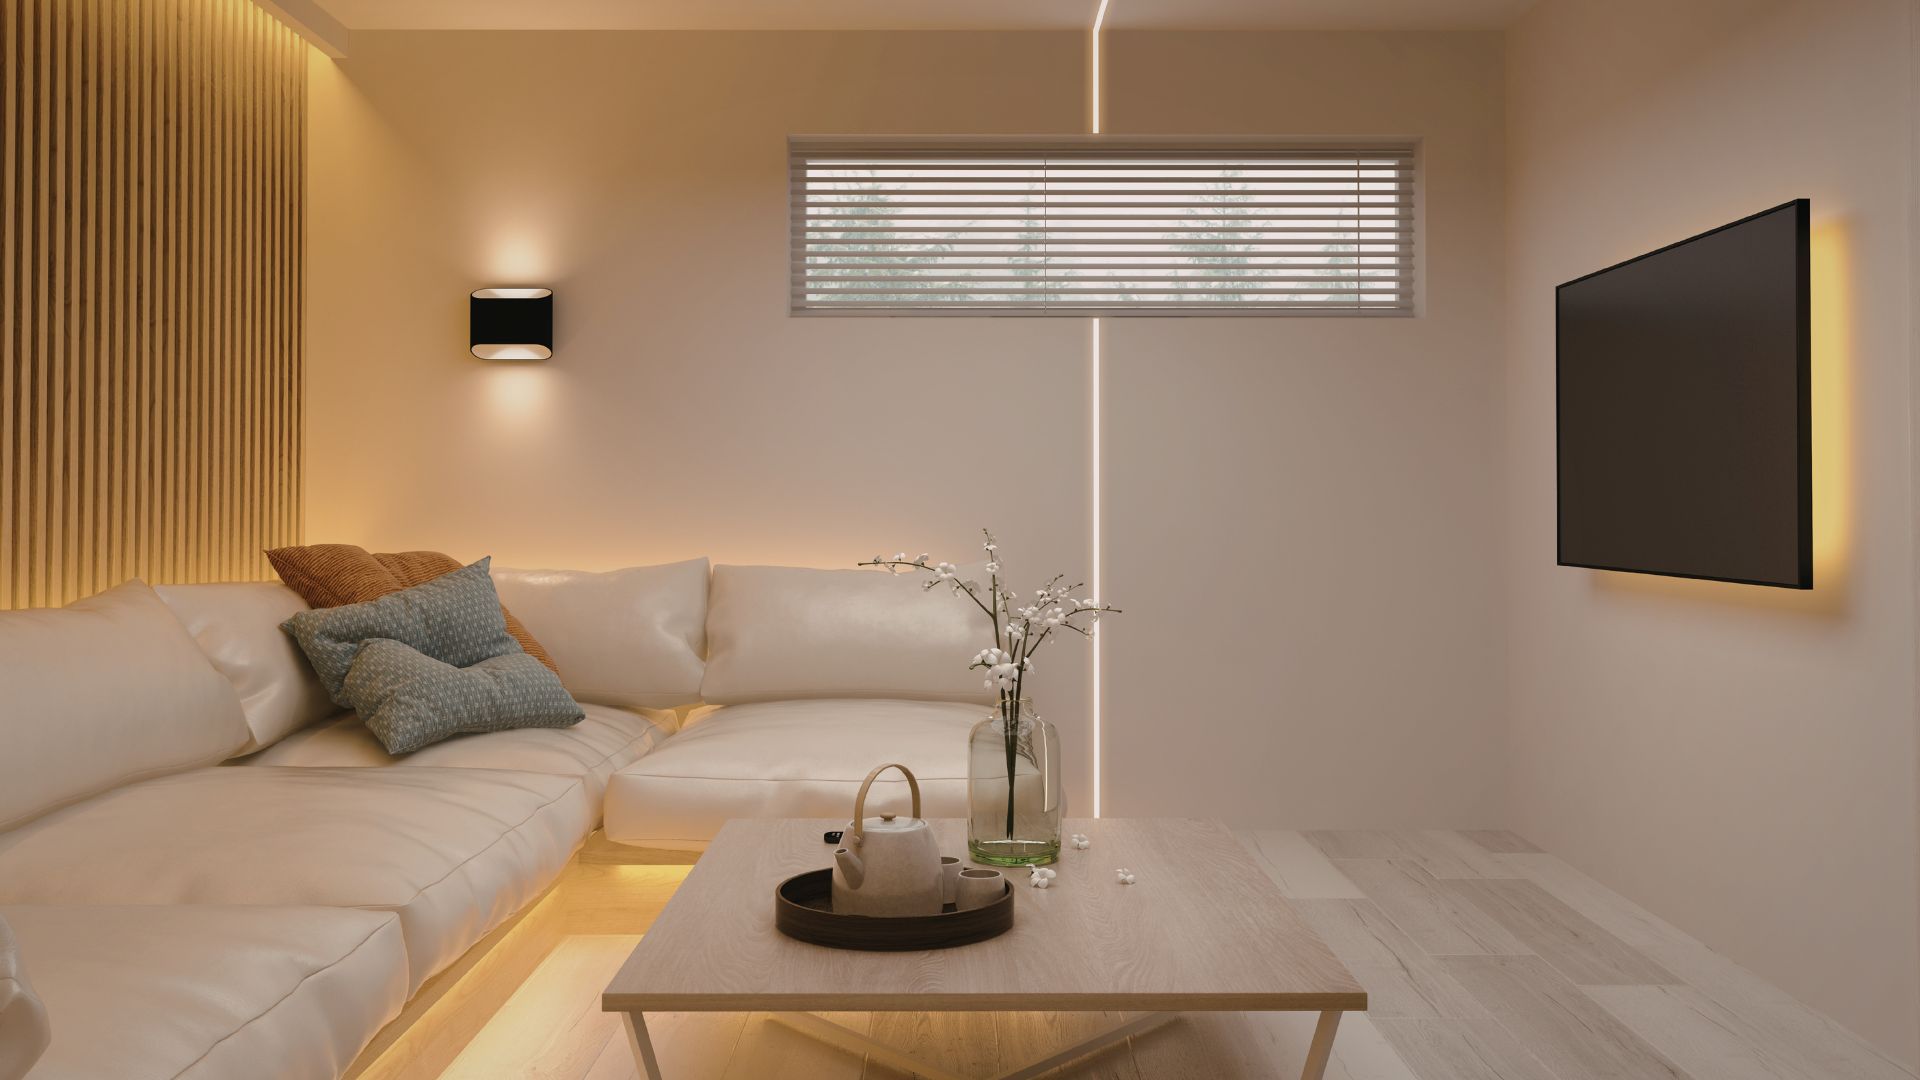
Add dimmable or smart lighting
The right lighting control sets the perfect movie-watching mood. A dimmer switch on compatible fixtures lets you adjust brightness levels based on what you’re doing. Smart bulbs like Govee give you color and brightness control through your smartphone or voice commands. These lights can fade down slowly when your movie starts, just like a real theater.
Use LED strips for ambient glow
LED strip lighting brings professional cinema atmosphere at a bargain price—a 200-foot strip of music-synchronized smart LEDs costs less than $20. These flexible strips work great along baseboards, behind your screen, or under seating. They light up pathways and reduce eye strain. LED strips create a subtle, theater-like ambiance without affecting your screen’s picture quality.
Improve acoustics with soft materials
Hard surfaces bounce sound around and hurt audio quality. Soft furnishings like throw pillows, blankets, heavy curtains, and area rugs absorb these echoes without special equipment. Fabric works better than leather for absorbing sound. Even large houseplants, real or fake, help control sound reflections and make dialogue clearer.
Start simple and upgrade over time
You don’t need to build your basement home theater all at once. A step-by-step approach lets you watch movies now while expanding your setup as money allows.
Begin with essential components
Quality beats quantity as you start your DIY basement home theater. Your money should go toward fewer but better pieces at first. The AV receiver serves as your system’s command center, so pick one that can grow with your needs. A basic stereo setup works well if money is tight, and you can add surround sound later. To name just one example, two quality front speakers will sound much better than your TV’s built-in speakers.
Add speakers and seating in phases
Your system can grow steadily once you have the basics. A 2.1 system makes a good starting point with two speakers plus a subwoofer, followed by center and surround channels. Each new speaker needs the right position – surrounds work best 1-2 feet above ear height and angled toward viewers. Your current furniture can handle seating duties until dedicated theater chairs fit the budget. Premium theater seats often sell for 30-50% off at clearance sales.
Thrift or repurpose furniture
The used market is rife with budget-friendly choices. Facebook Marketplace, estate sales, flea markets, and consignment shops offer hidden gems. Old furniture gets new life through repurposing, which saves money and helps the environment—approximately 9 million tons of furniture waste end up in landfills each year. Old dressers can become equipment cabinets, while tables transform into mobile media carts with added wheels.
Plan for future enhancements
Your basement theater’s layout should accommodate future growth. Extra conduits in walls make future wiring easier. Room for more speakers or bigger screens helps too. A processor/amplifier setup might replace your receiver someday. Small planning steps now help avoid pricey renovations later.
Conclusion
You can build your dream basement home theater without emptying your bank account or hiring expensive professionals. A smart approach delivers impressive results and keeps costs under control.
Your basement’s natural features are perfect allies in this project. The darkness, sound isolation, and existing structure are the foundations for an amazing cinema space. Working with these features instead of against them will save you thousands in renovations.
Equipment choices can make a huge difference. You might already own components that could become the backbone of a quality system. Used and refurbished gear offers great savings without compromising performance. On top of that, choosing between a projector and a TV based on your needs prevents overspending.
Basic, affordable upgrades often create dramatic improvements. Dark matte paint turns ordinary walls into cinema-ready surfaces. Smart lighting choices and soft furnishings boost both looks and acoustics without special equipment.
The best way to create your basement theater is as an evolving project. Start with the basics so you can enjoy movies right away while building toward your dream setup. This step-by-step approach spreads costs over time and helps you learn what really improves your viewing experience.
Your basement has hidden potential for amazing entertainment. Despite what high-end installers say, great home theaters exist at every budget level. Smart choices matter more than spending big money, and your dream cinema is within reach—ready to create years of movie magic without breaking the bank.